更换NPM源
如果你之前没有使用过淘宝源(新手)就可以跳过此步骤。
参考资料:将 Npm 的源替换成淘宝的源
修改源地址为官方源
1 | npm config set registry https://registry.npmjs.org/ |
为什么写这个,因为我遇到了这个问题:

当你点击进入的时候,他貌似只要登录而没有注册,我询问了GPT:
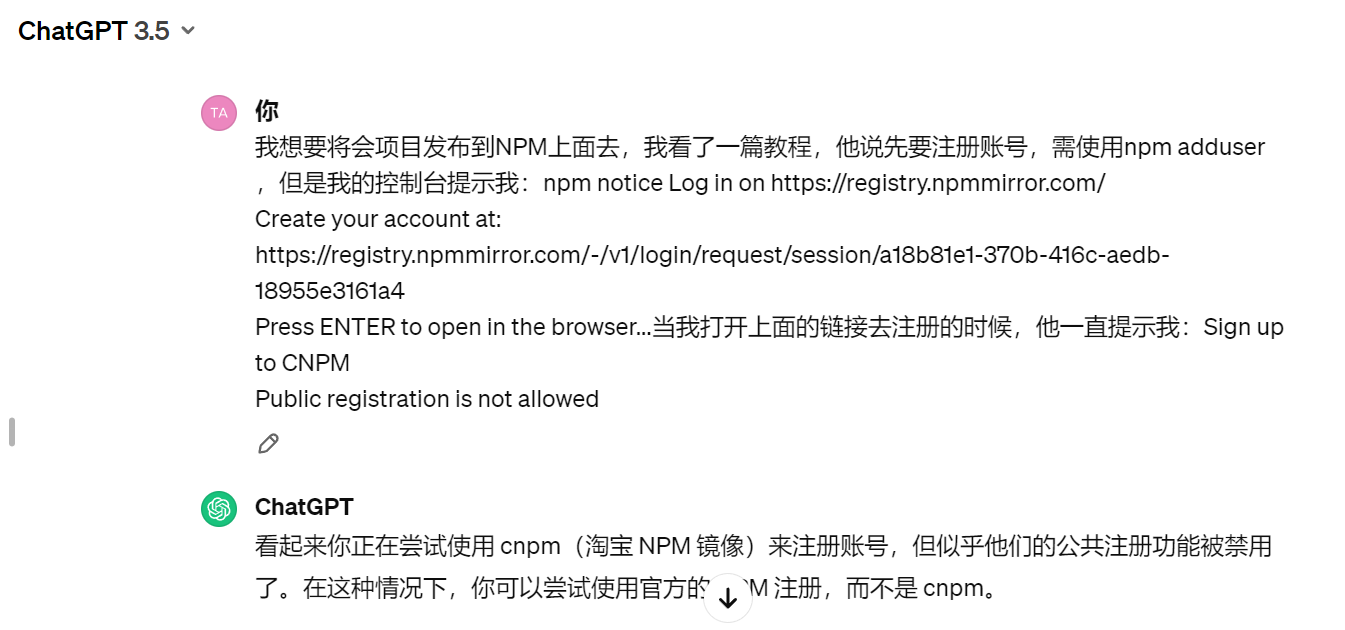
所以,才有上面的操作,这个成功的。
注册NPM账号
打开注册地址
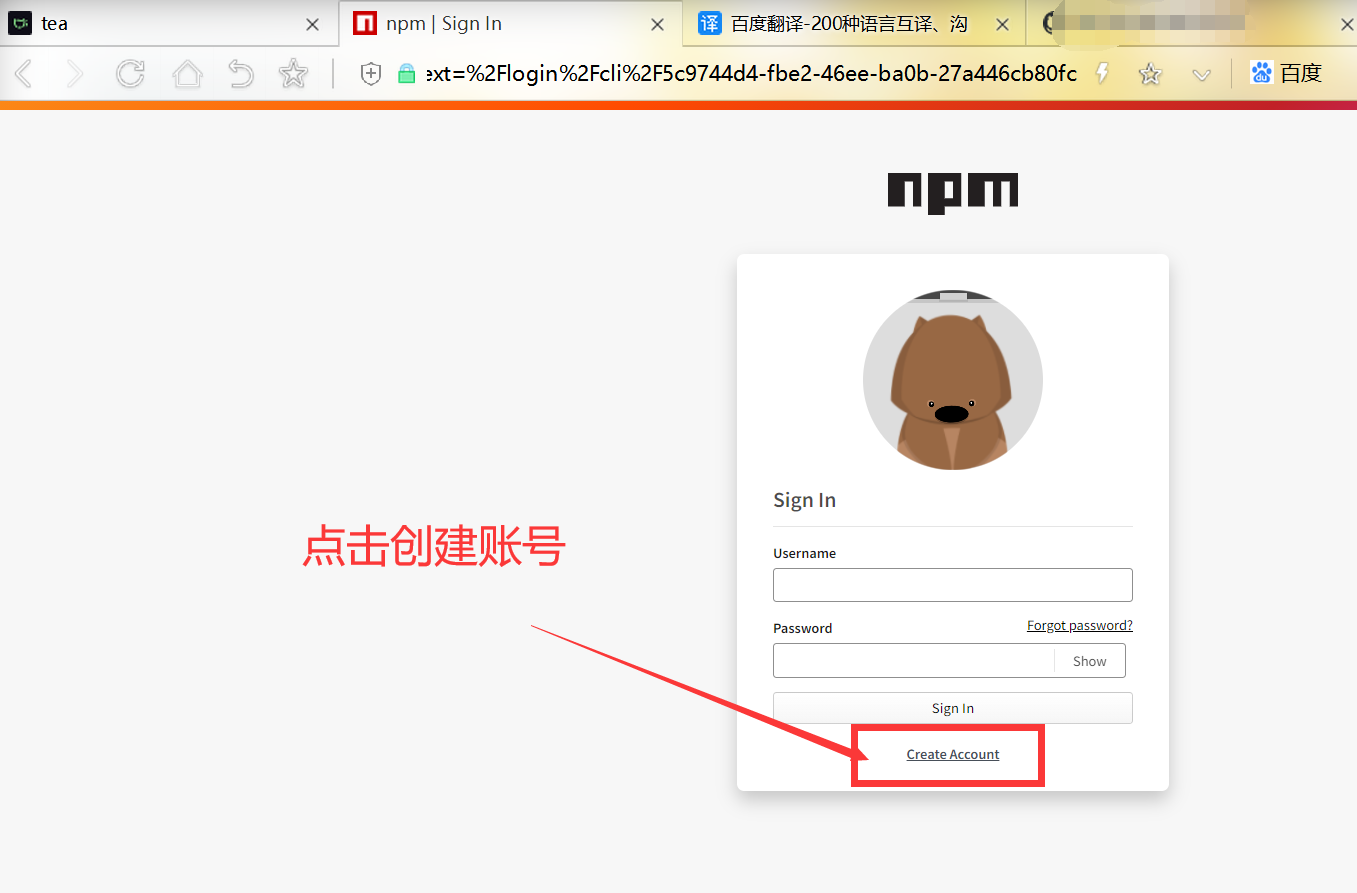
我们按照要求填写。
填写信息
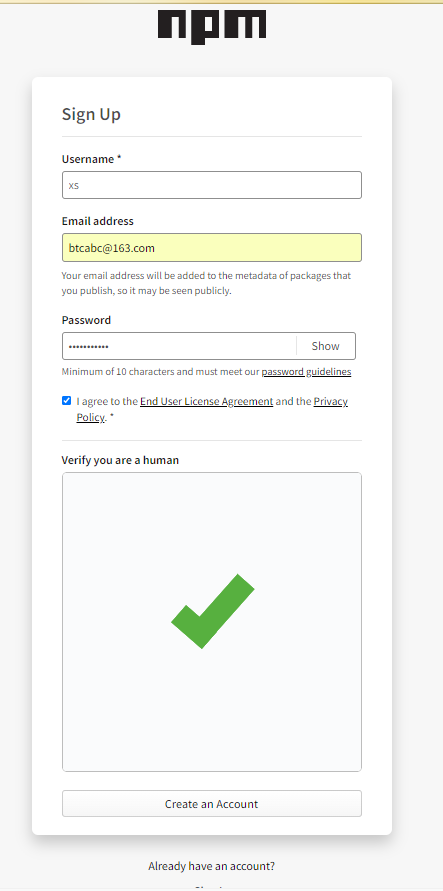
当然,名称不能写这么简单,因为被占用了。
密码至少需要大写字母、小写字母、数字和特殊字符中的三项,且不少于10位。
接着你的邮箱会受到一封验证码。
填写验证码
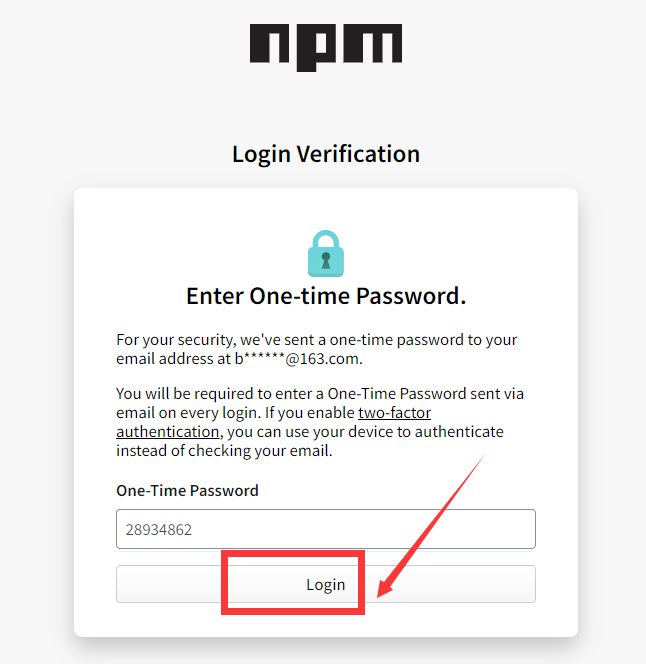
我们填写进去,登录。
我使用的是163邮箱,国内邮箱应该都可以收到。
注册成功
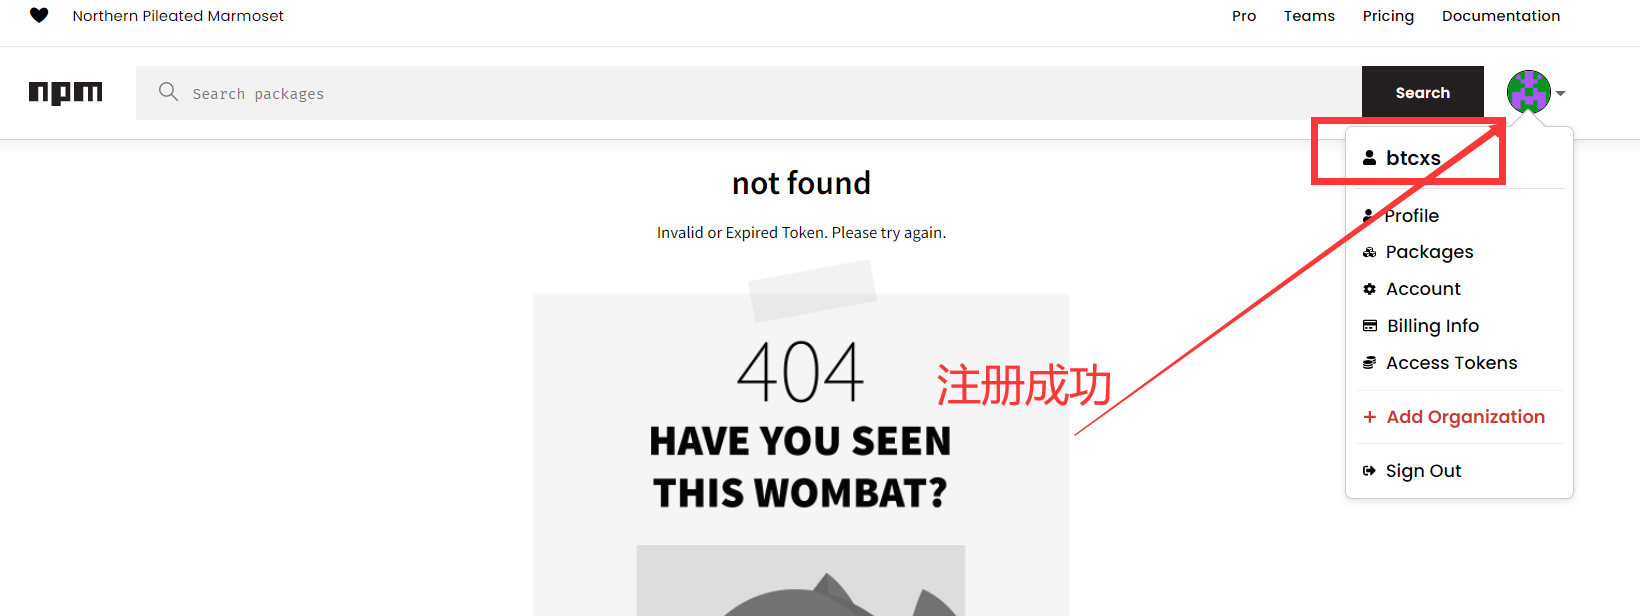
注册成功。
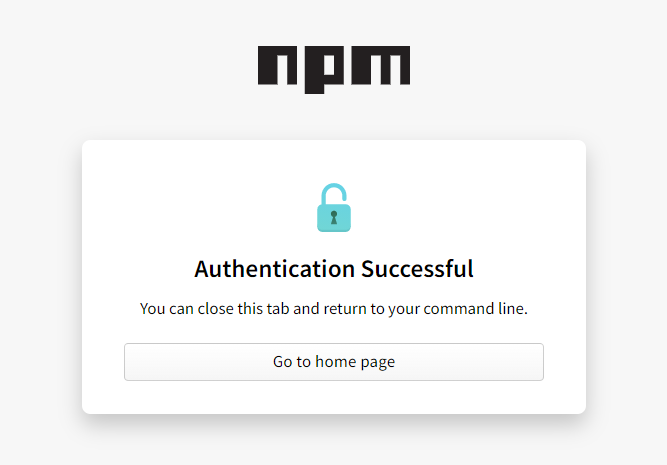
验证成功
你重新验证,成功应该是这样的。
初始化项目:
我们根据教程使用命令:npm init
全部默认,按回车键到底。
添加一个名为html.js的文件。
参考教程:一分钟教你发布npm包
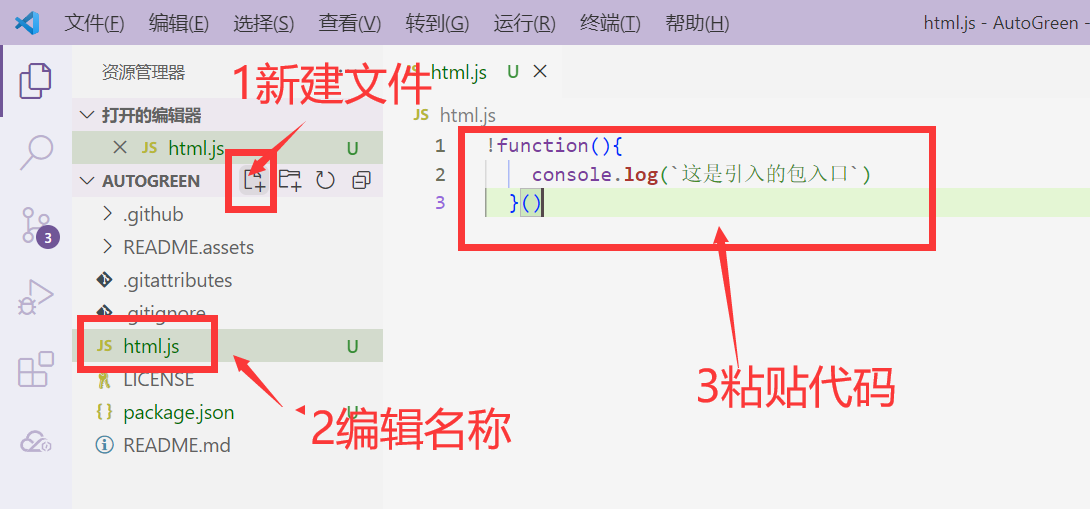
(该图的编辑器为免费的轻量级的VSCode)
发布项目:
根据上面的教程,我们使用命令:
2
npm publish autogreen@1.0.0
但是,我使用的项目autogreen就遇到了问题,因为他不是一个原创项目。
所以,他输出了以下的错误信息:
npm ERR! code E404
npm ERR! 404 Not Found - GET https://registry.npmjs.org/autogreen - Not found
npm ERR! 404
npm ERR! 404 ‘autogreen@1.0.0‘ is not in this registry.
npm ERR! 404
npm ERR! 404 Note that you can also install from a
npm ERR! 404 tarball, folder, http url, or git url.npm ERR! A complete log of this run can be found in: C:\Users\huaxi\AppData\Local\npm-cache_logs\2024-02-22T16_25_05_845Z-debug-0.log
GPT给的答案是:
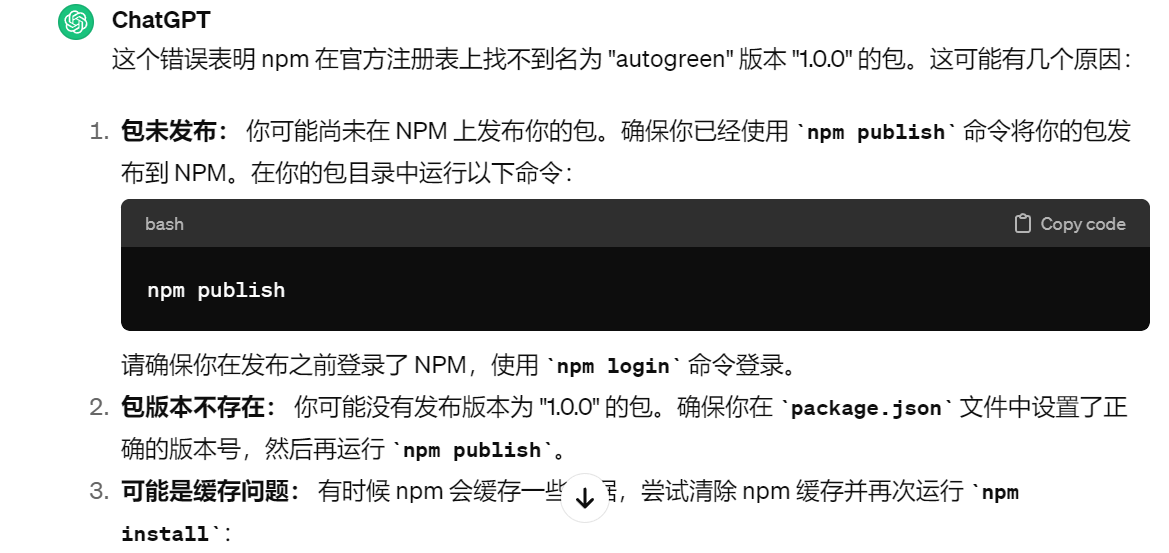
我们应该使用:npm publish
新的错误信息如下:
npm ERR! code E403
npm ERR! 403 403 Forbidden - PUT https://registry.npmjs.org/autogreen - Package name too similar to existing package auto-green; try renaming your package to ‘@btcxs/autogreen’ and publishing with ‘npm publish –access=public’ instead
npm ERR! 403 In most cases, you or one of your dependencies are requesting
npm ERR! 403 a package version that is forbidden by your security policy, or
npm ERR! 403 on a server you do not have access to.npm ERR! A complete log of this run can be found in: C:\Users\huaxi\AppData\Local\npm-cache_logs\2024-02-22T16_26_47_772Z-debug-0.log
GPT的答案:
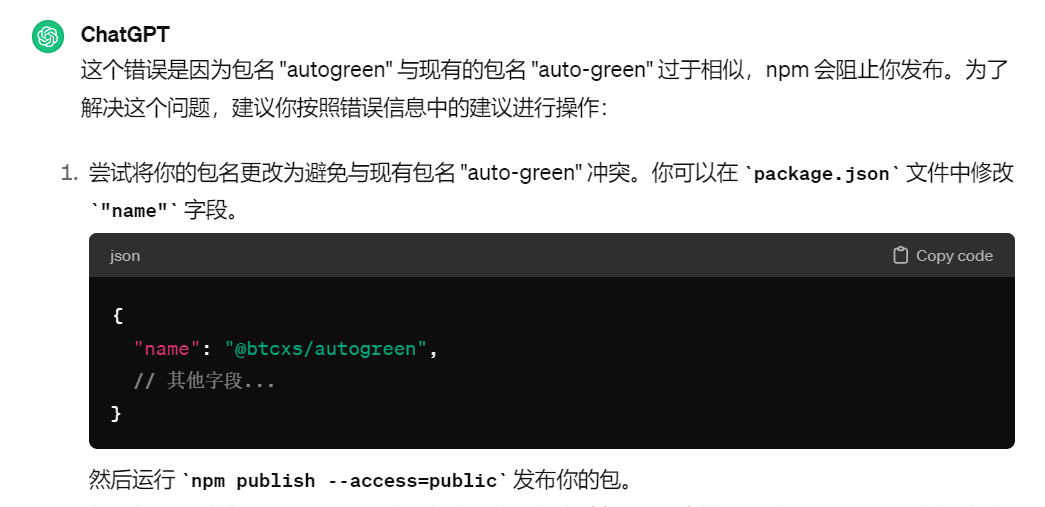
我们根据提示,修改对应的文件。
(如下图所示)
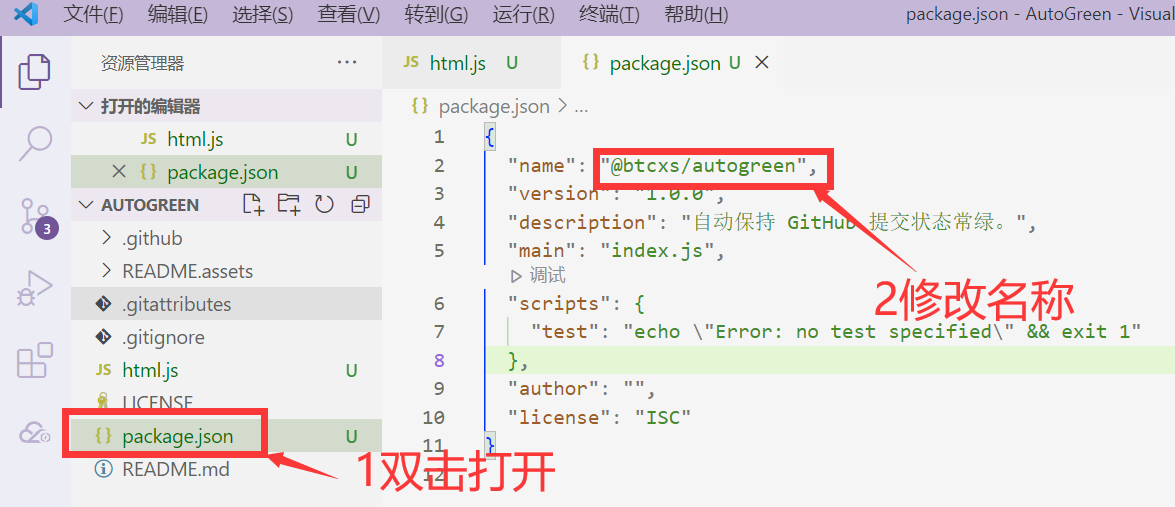
然后按住Ctrl+S保存文件。
继续发布:npm publish –access=public
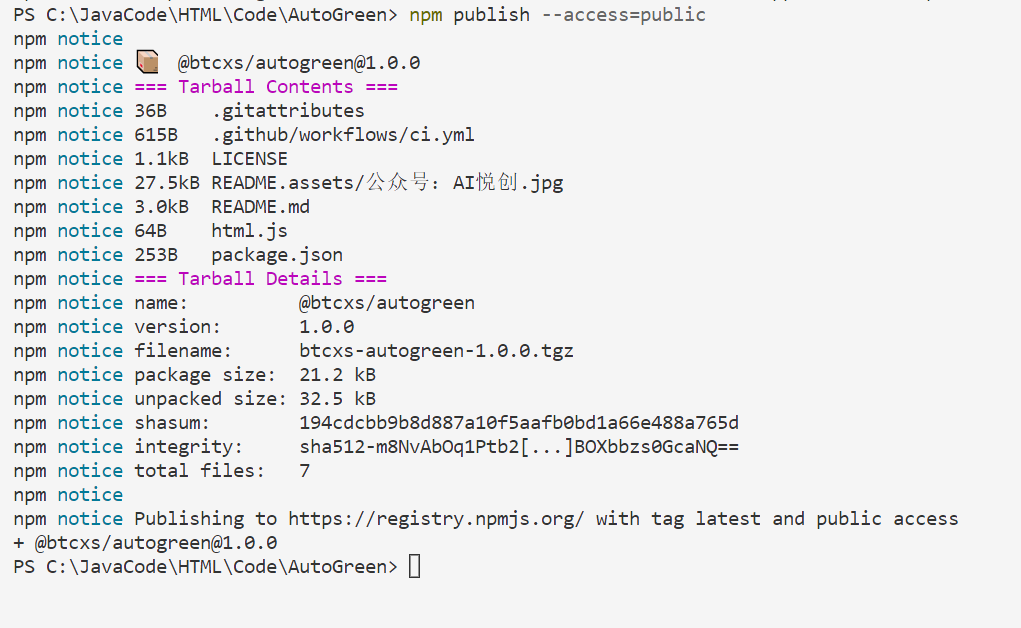
发布成功!
我们去npm官网查询一下:
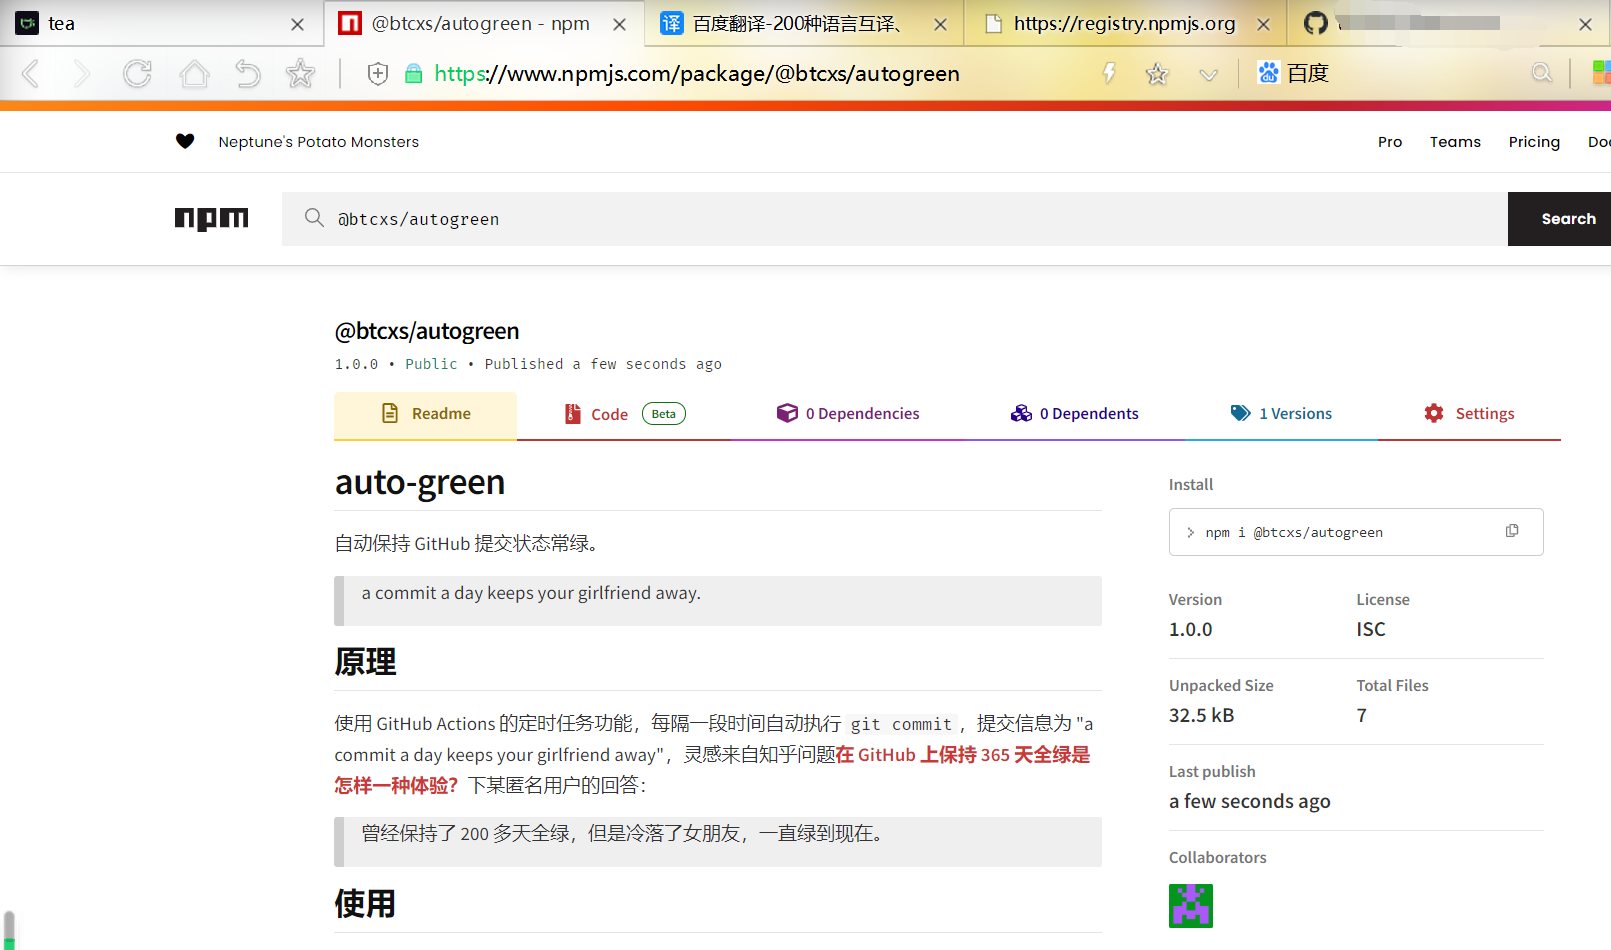
https://www.npmjs.com/package/@btcxs/autogreen
